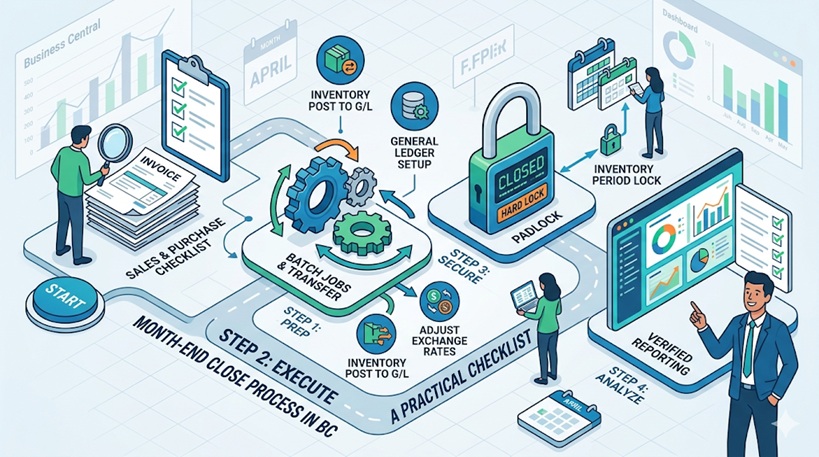
If you are new to Business Central, “Month-End” can feel like a mountain to climb. The good news? It’s actually just a series of small, logical steps to ensure your financial data is accurate before you start the next month.
Think of it as cleaning your house before a big party. You want everything in its right place so your reports look perfect for the management team. Here is your beginner-friendly guide to mastering the Month-End close.
Phase 1: The “Clean Up” (Checking for Gaps)
Before you touch the General Ledger, you must find transactions that started but didn’t finish. If the “paperwork” isn’t done, your numbers won’t be true.
A. Check “Shipped but not Invoiced”: Search for Sales Lines and filter for “Qty. Shipped Not Invoiced” > 0. If items left the warehouse, the invoice must be posted to recognize revenue.

B. Check “Received but not Invoiced”: Search for Purchase Lines and filter for “Qty. Received Not Invoiced” > 0. Ensure vendor bills are posted so your liabilities and expenses are accurate.

C. Register all Journals: Double-check your General, Cash Receipt, and Payment journals. If they are sitting in a batch unposted, they don’t exist in your financial statements.
Phase 2: The “Balance Transfer” & Verification
In Business Central, Balance Sheet accounts roll over automatically, but you must run specific “Batch Jobs” to ensure the values are updated correctly.
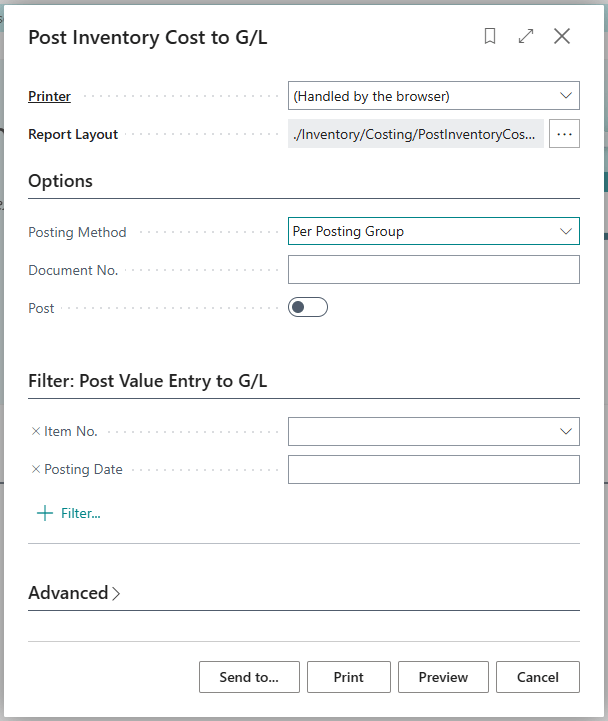
A. Post Inventory Cost to G/L: This is a vital transfer step. Run this batch job to move the value of your physical stock movements into your Financial Ledger.
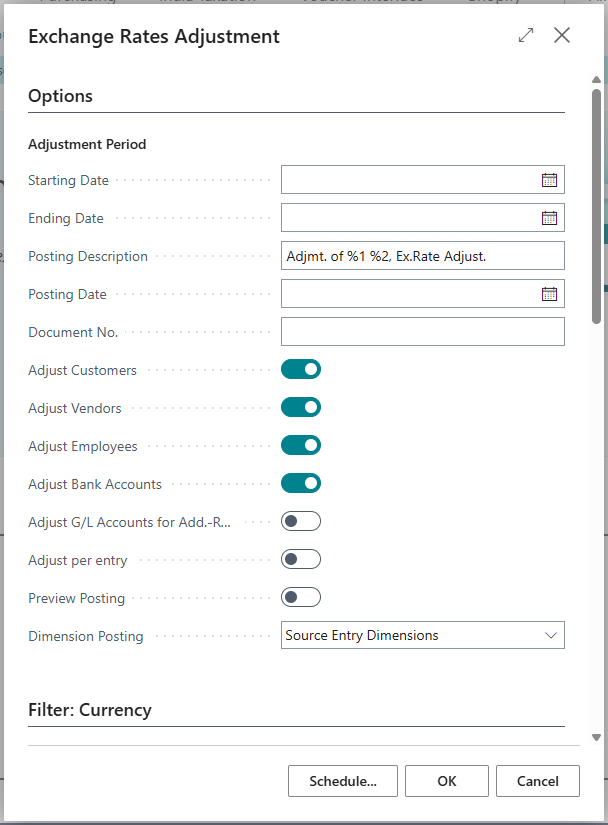
B. Adjust Exchange Rates: If you deal with foreign currencies (like USD), run this as of the last day of the month to “transfer” the gain/loss adjustment to your G/L.
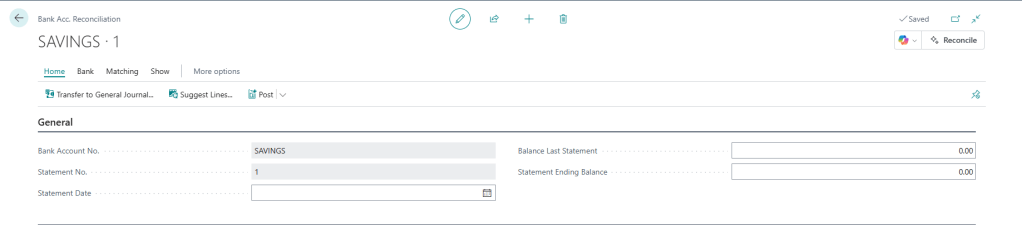
C. Bank Reconciliation: Match your bank statement to your Bank Account Ledger Entries. If the difference isn’t zero, your month-end balance is wrong.
Phase 3: The “Hard Lock” & Execution Steps
Once your balances are correct, you must perform a “Hard Lock” to finalize the period.
Step 1: Transferring Inventory Value to G/L
- The Action: Search for Post Inventory Cost to G/L.
- The Step: Select the month you are closing in the filter and run the batch job.
- The Result: This officially “transfers” value from the Inventory module into the General Ledger.
Step 2: The Inventory Period Lock
To ensure no one changes the balance you just calculated, you must lock the Inventory “door”.
- Search for Inventory Periods.
- Click Create to add the month you are finishing.
- Select the month and click Close Period.
Step 3: Closing the “Posting Window”
Push all users into the new month by updating the system dates.
- Search for General Ledger Setup.
- Update “Allow Posting From” to the 1st day of the New Month.[Screenshot 6: General Ledger Setup showing the new ‘Allow Posting From’ date]
- Pro Tip: For the Finance team who still needs to make late adjustments, use User Setup to give them a private “date window”.
Phase 4: Final Reporting
Now that the period is locked and balances have “transferred” into the new month, it’s time to see the results.
- Run the Trial Balance: Does it balance? It should!
- Verify Dimensions: Use the “G/L Register” to ensure no entries are missing required tags like Department or Project.
- Generate Financial Reports: Run your Income Statement and Balance Sheet.
