
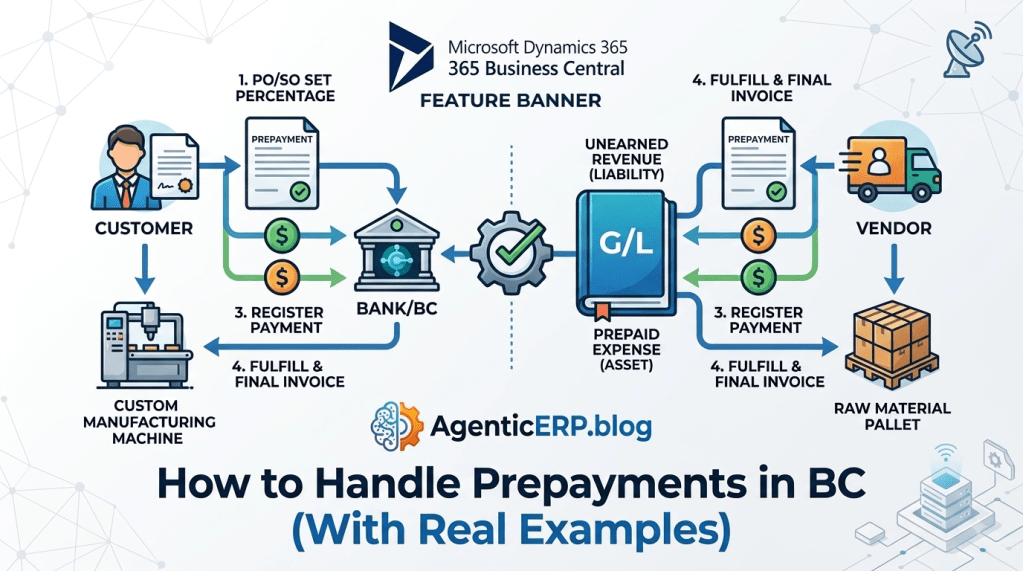
In many industries such as custom manufacturing, high-value capital equipment, or bespoke retail vendors require upfront payment before processing an order. Similarly, you may require your customers to pay a deposit before locking in a sales contract.
In Microsoft Dynamics 365 Business Central, handling prepayments correctly is essential to keeping your General Ledger (GL), Accounts Receivable (AR), and Accounts Payable (AP) in sync. Recording deposits manually or treating prepayments as standard revenue/expense items at the start creates severe accounting inaccuracies and tax compliance risks.
In this guide, we’ll explore how to set up, execute, and account for prepayments in Business Central using real-world operational examples.
Why Prepayment Accounting Matters
A prepayment is not immediate revenue or an immediate operational expense:
- Customer Prepayments (Sales): Represent a liability (Unearned Revenue / Deposit Held) until the goods or services are delivered.
- Vendor Prepayments (Purchasing): Represent an asset (Prepaid Vendor Deposit) until the vendor fulfills the purchase order.
Business Central automates the posting and reversal of these balance sheet accounts seamlessly using predefined Prepayment Posting Groups.
Step 1: Core Configuration & Setup
Before executing prepayment workflows, you must define the posting rules and default percentages.
1. Prepayment Posting Groups
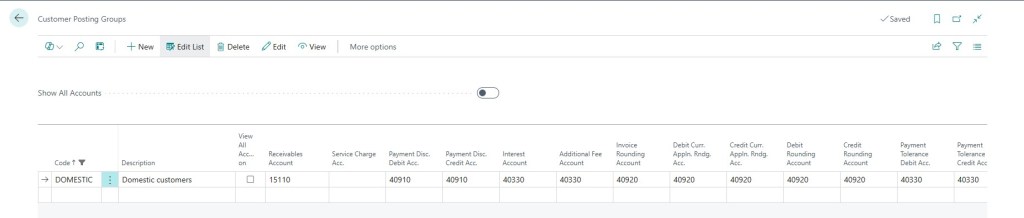
Navigate to General Posting Setup or Customer/Vendor Posting Groups to map your prepayment accounts:
- Sales Prepayment Account: Unearned Revenue (Liability)
- Purchase Prepayment Account: Prepaid Expense / Vendor Deposit (Asset)
2. Setting Default Prepayment Percentages
You can configure default deposit requirements at three levels:
- Global/Customer/Vendor Level: Define a standard prepayment percentage (e.g., 30%) directly on the Customer or Vendor card.
- Item Level: Set specific item-level prepayment requirements on the Item card.
- Document Level: Override percentages manually on specific Sales or Purchase Orders.
Architect Note: On the Purchasing & Payables Setup and Sales & Receivables Setup pages, ensure “Check Prepmt. when Posting” is toggled ON. This blocks warehouse staff from releasing or shipping orders until the required prepayment invoice is posted and paid.
Step 2: Real-World Example — Customer Prepayment (Sales Workflow)
Scenario:
A customer orders $10,000 worth of custom machinery. Your company requires a 30% deposit ($3,000) before production begins.
Step-by-Step Execution:
- Create the Sales Order: Enter the line items totaling $10,000.
- Set Prepayment Percentage: On the order header (or line), enter
30in the Prepayment % field. Business Central calculates the Prepayment Amount as $3,000. - Post Prepayment Invoice: Go to Actions → Posting → Prepayment → Post Prepayment Invoice.
- Accounting Result: Debit AR / Credit Unearned Revenue ($3,000).
- Register Customer Payment: Apply the customer’s $3,000 payment against the Prepayment Invoice via the Cash Receipt Journal.
- Ship and Finalize: Ship the goods and post the final Sales Invoice.
- Accounting Result: Business Central automatically deducts the $3,000 prepayment, posts net revenue, reverses the unearned liability, and bills the customer for the remaining $7,000 balance.

Step 3: Real-World Example — Vendor Prepayment (Purchase Workflow)
Scenario:
You order raw materials worth $5,000 from a international supplier who demands a 50% advance ($2,500) prior to shipment.
Step-by-Step Execution:
- Create the Purchase Order: Enter the order details totaling $5,000.
- Apply Prepayment %: Set the Prepayment % to
50. - Post Purchase Prepayment Invoice: Select Post Prepayment Invoice.
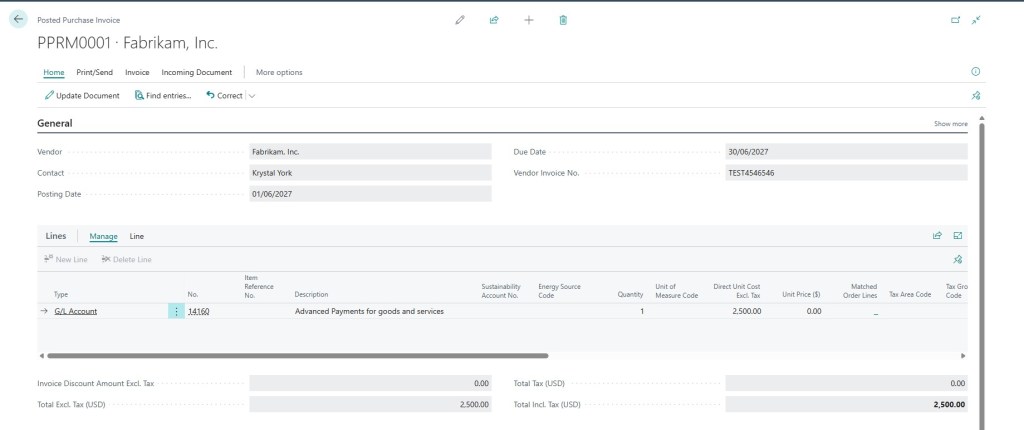
- Accounting Result: Debit Prepaid Vendor Deposits / Credit AP ($2,500).
- Process Payment: Pay the vendor via Payment Journal and apply it to the prepayment invoice.
- Receive and Finalize Invoice: When the goods arrive, post the final Purchase Invoice. BC automatically applies the $2,500 deposit against the final $5,000 bill, leaving a remaining payable balance of $2,500.
Common Pitfalls & Troubleshooting
| Issue / Error | Root Cause | Solution |
| “You cannot ship items because prepayment is required” | Order is marked for prepayment, but the prepayment invoice hasn’t been posted/paid. | Post the prepayment invoice and register payment before attempting warehouse shipment. |
| Incorrect Tax / VAT Application | Prepayment posting group lacks proper Tax/VAT setup. | Ensure Tax/VAT bus. and prod. posting groups are assigned to the prepayment line configuration. |
| Unresolved Open Prepayments | An order was canceled after a prepayment invoice was posted. | Use Post Prepayment Credit Memo under the Posting menu to reverse the advance invoice cleanly. |
Looking Ahead: The Agentic ERP Horizon 🤖
Managing prepayments manually requires continuous cross-checking between sales managers, purchasing agents, and finance teams to answer: “Has the deposit cleared so we can ship?”
In an Agentic ERP architecture:
- An Autonomous AI Agent tracks incoming bank feeds (via open banking APIs) and automatically matches customer deposit transfers to open Sales Prepayment Invoices.
- Upon payment confirmation, the agent updates the order status, removes the shipping hold in Business Central, and posts a notification in the production channel on Microsoft Teams: “30% deposit received for SO-10042. Releasing order to manufacturing.”
- For purchase prepayments, an agent monitors vendor PO milestones, alerts procurement when advance payments are due, and drafts payment journal entries automatically.
Summary
Handling prepayments natively in Business Central eliminates manual spreadsheet tracking and guarantees audit-ready balance sheets. By configuring posting groups upfront and training your team on the prepayment posting workflow, you protect your cash flow and keep financial reporting accurate from day one.
 Agentic ERP Blog
Leave a comment