
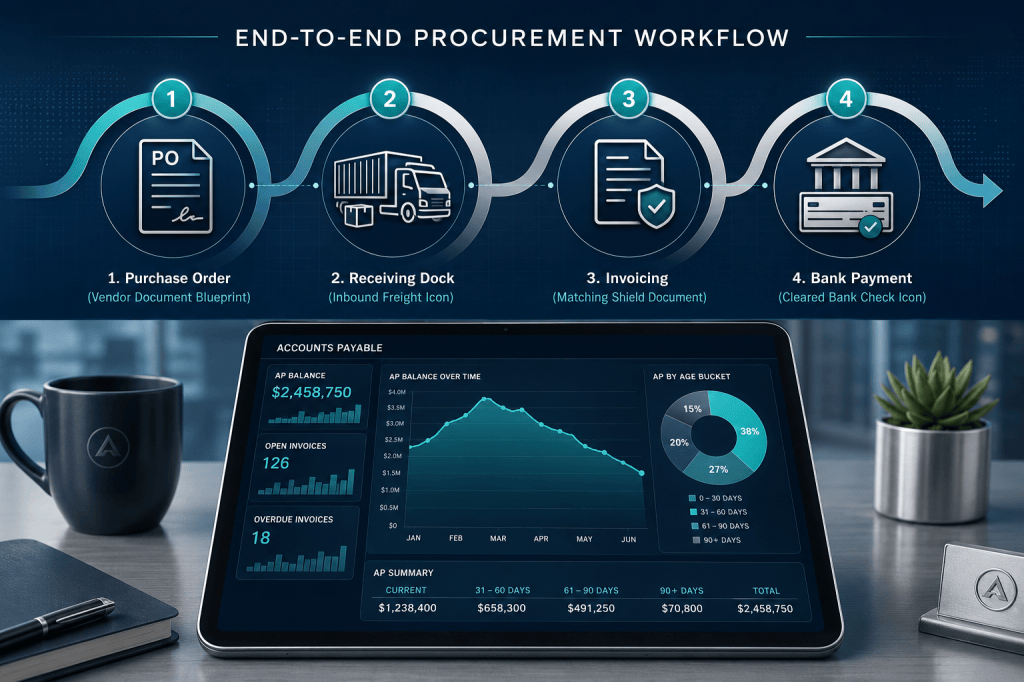
While the Order-to-Cash loop drives organizational revenue, the Procurement-to-Cash (P2P) lifecycle dictates cash-outflow efficiency, margin protection, and vendor relationship integrity. In Microsoft Dynamics 365 Business Central, managing the Purchase Order to Payment flow is an absolute cornerstone of supply chain and financial control.
When configured haphazardly, a business faces duplicate invoices, distorted inventory valuation layers, and manual payment matching chaos. Let’s walk through the exact click-by-click sequence from the field, highlighting the structural ledger impacts at every milestone.
Step 1: Initializing the Purchase Order
The lifecycle officially begins when an organization commits to an external supplier. Open Purchase Orders (Page 50) from your global search menu or Role Center and click New.
When you enter the Vendor No., the system instantly executes validation logic based on the underlying master data:
- It checks the Vendor Posting Group to map where payables liability will reside in the General Ledger.
- It inherits the Payment Terms Code to calculate due dates automatically.
- It applies currency cross-rates if you are working with an international vendor.
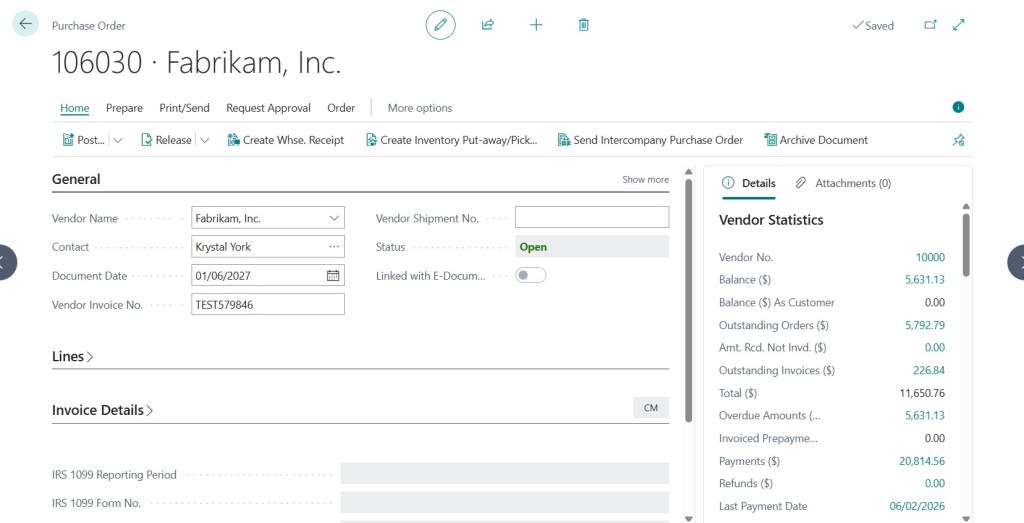
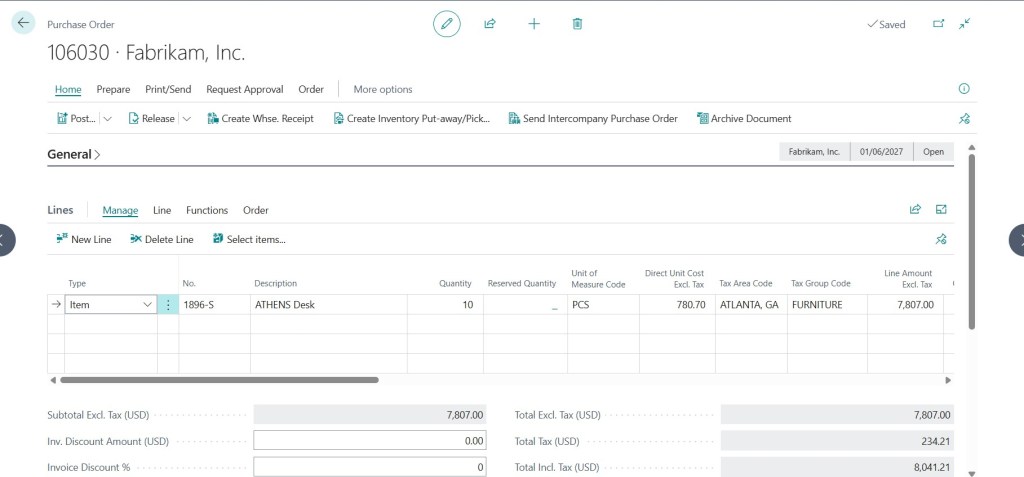
Next, navigate to the Lines FastTab. Select the Type as Item, enter the inventory number, specify your Location Code, and input the target Quantity.
Step 2: Releasing the Document
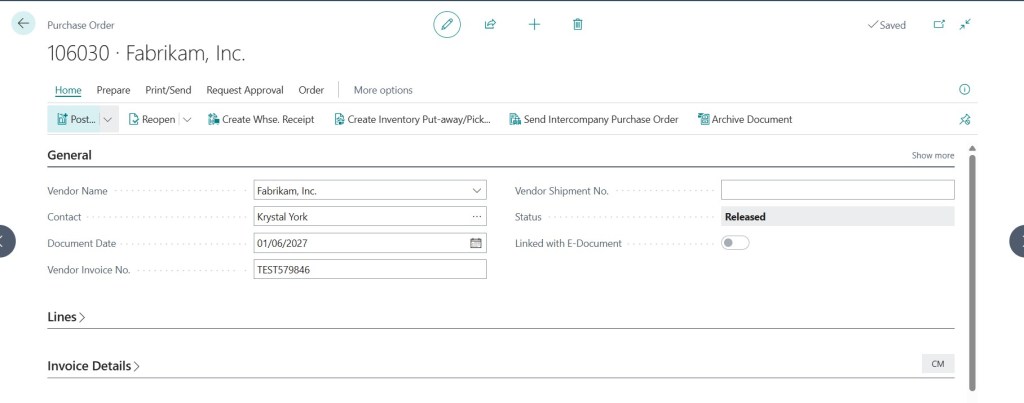
While a Purchase Order remains Open, prices and line parameters can be modified by purchasing agents. Once finalized and sent to the vendor, the document must be structurally committed.
Click Release in the top action ribbon. This changes the status from Open to Released, locking editing privileges the receiving department that the shipment is officially expected.
Step 3: Warehouse Receiving (Physical Inflow)
When the physical goods arrive at your warehouse, the inventory must be accounted for. In standard, basic locations, your store workers will verify the packing slip against the order data, update the Qty. to Receive field on the order line to reflect actual physical counts, and click Post > Receive.
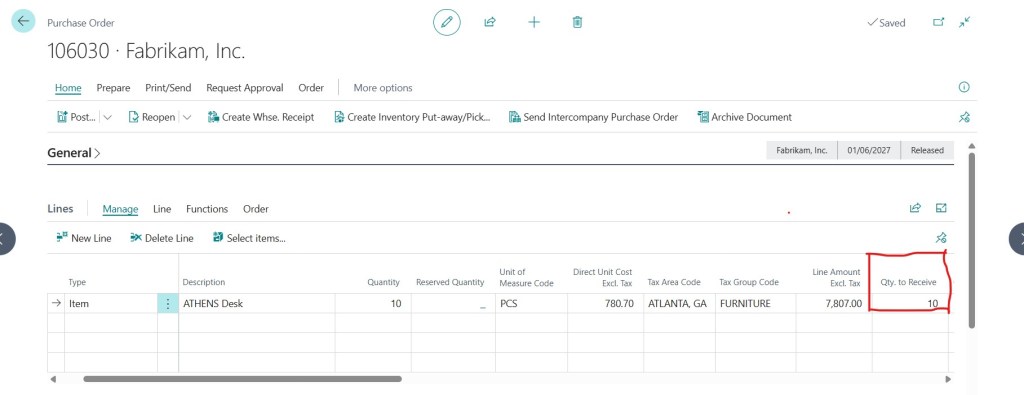
The Operational Ledger Impact:
Posting a receipt creates a permanent Posted Purchase Receipt document. Behind the scenes, the system updates two major data architectures:
- Item Ledger Entry: Increases your on-hand physical inventory quantity at the selected Location Code.
- Value Entry: Creates an expected/interim cost buffer in the ledger, increasing asset value on the balance sheet while offsetting it with an accrued, uninvoiced liability account.
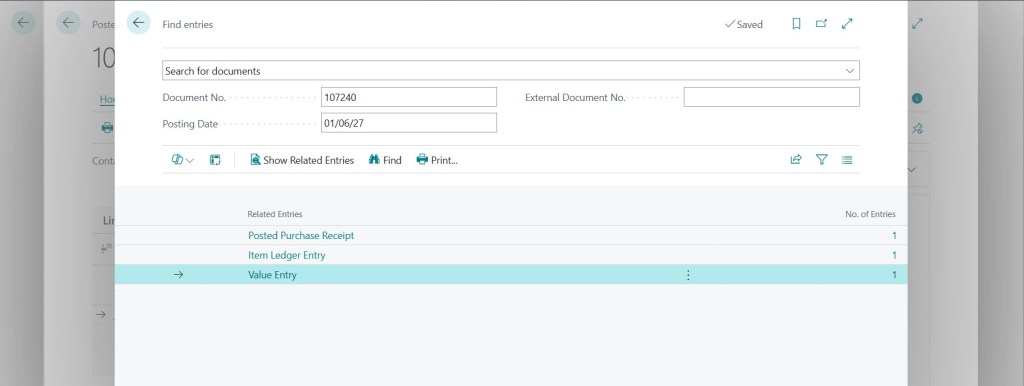
Step 4: Invoicing & Payables Matching
The financial obligation is finalized when the vendor sends their formal invoice. Enter the unique invoice identifier into the Vendor Invoice No. field on the Purchase Order header this is a non-negotiable validation step required to prevent duplicate billing entries.
Verify that the Qty. to Invoice matches the received quantities, and click Post > Invoice (or combine steps using Receive and Invoice if logistics and billing happen concurrently).
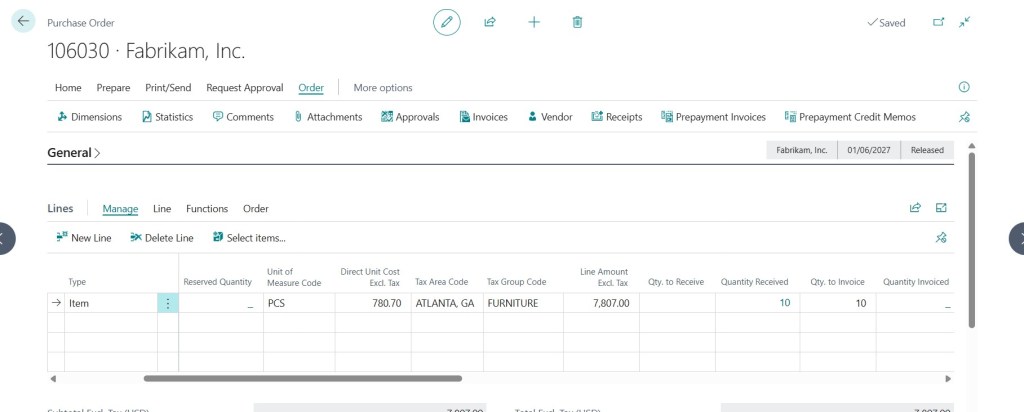
The Permanent Ledger Impact:
This action fully closes out the source Purchase Order lifecycle and generates a permanent, unalterable Posted Purchase Invoice (Page 138). It triggers a multi-ledger database reconciliation:
- Vendor Ledger Entries: Establishes an open balance against the supplier card, logging the due date calculated from the original payment terms.
- General Ledger Entries: Clears out the interim expected cost buffers, recognizes the permanent inventory asset valuation, and logs the official Accounts Payable liability.
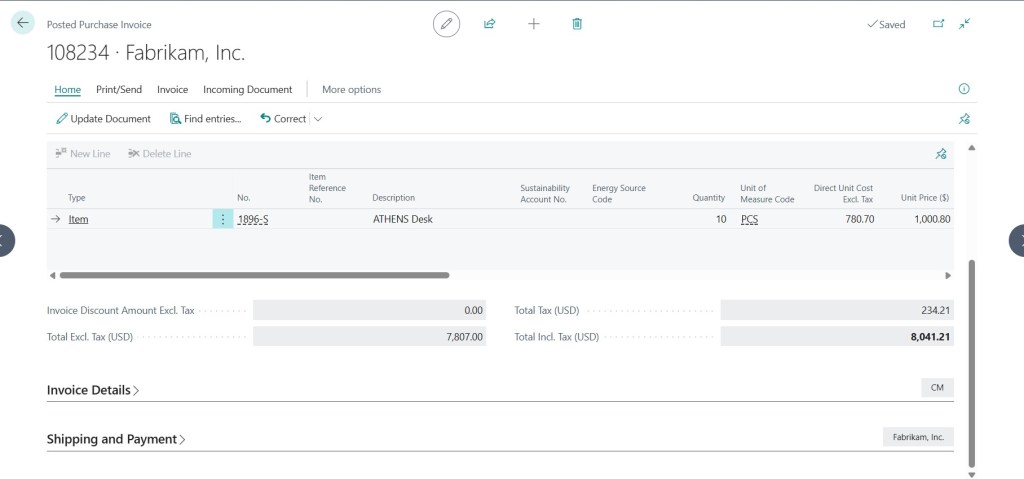
Step 5: Finalizing the Payment Journal
The P2P cycle concludes within the finance department. Search for and open Payment Journals.
Instead of writing a check or wire manually, click Suggest Vendor Payments. This powerful batch job scans all open Vendor Ledger Entries across your system, filters by upcoming payment due dates or cash discount windows, and automatically populates the journal lines for execution.
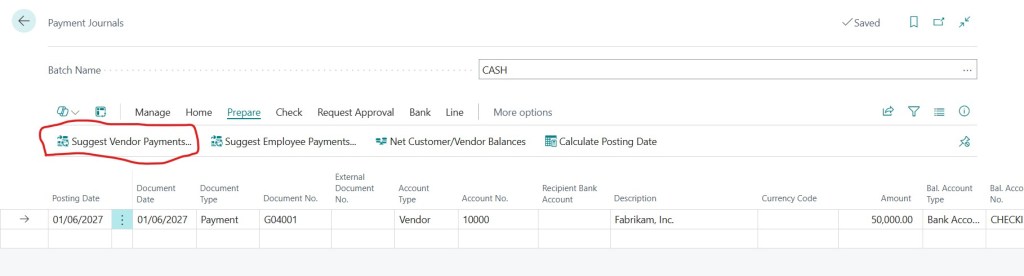
Once the electronic payment file or check is generated, you click Post. This updates your General Ledger (crediting your Bank Account and debiting Accounts Payable) and marks the original Vendor Ledger Entry as Closed, bringing the end-to-end lifecycle to a compliant finish.
The Foundation for Agentic Automation
Mastering the explicit data dependencies of the Purchase Order to Payment loop is an essential skill for any solution architect, but it represents an even bigger milestone for the development of Agentic ERP.
By building pristine standard P2P frameworks today, you prepare your business engine for the autonomous automation of tomorrow.


Leave a Reply